Andrew Yeckel > Stories > Cedar shed kits
Building a cedar shed from a kit
This might be my biggest project yet, building a
cedar shed from a kit. The first step was to build a
small patio to serve as a pad for the shed. I've set up a
mason's line about an inch above grade as a reference level
for the patio surface.
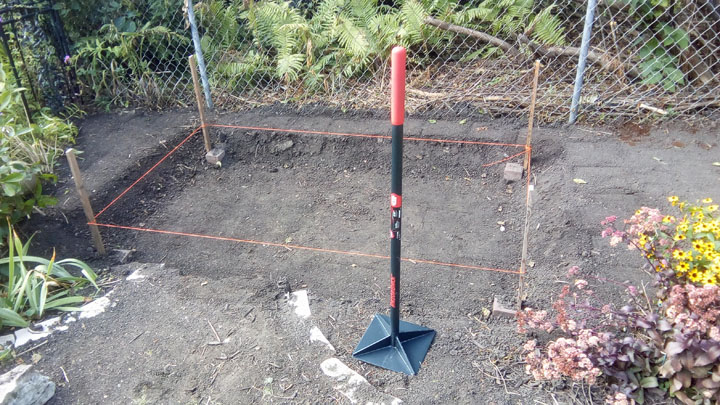
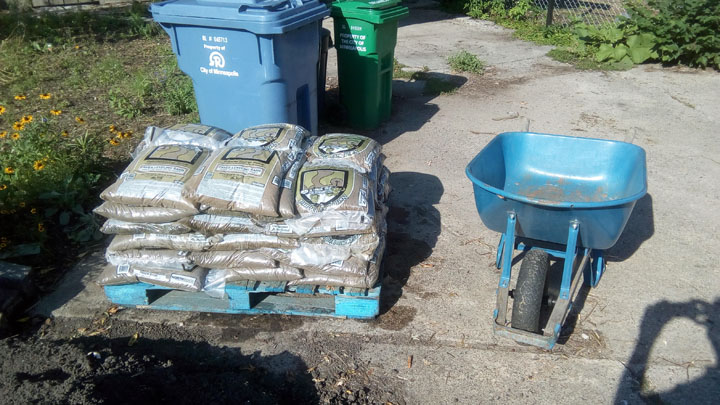
It took about 50 bags of gravel and sand to fill the hole.
The wheelbarrow can carry two bags at a time.
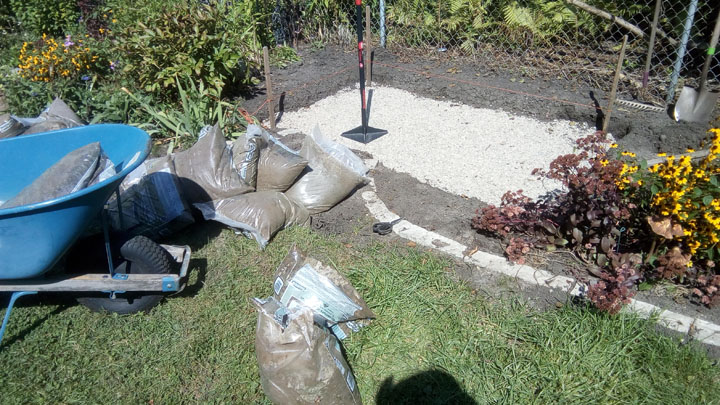
Six inches of crushed gravel and two inches of sand were
tamped down in several layers. When tamping take care you
don't hit your foot, it's easier than you might think.
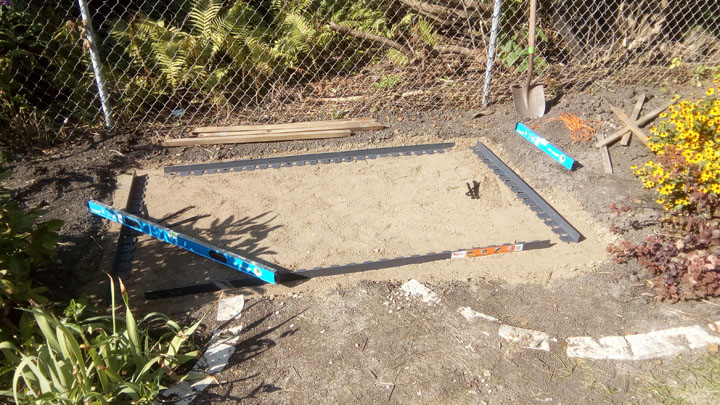
Anchor strips were hammered into place with spikes. If these
aren't level, the patio won't be level, so this is a critical
step.
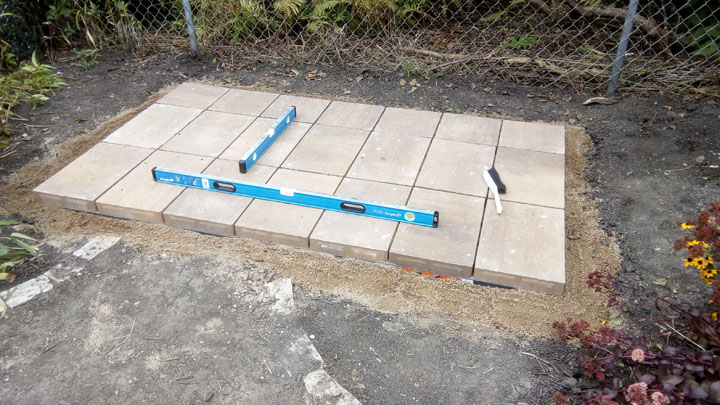
Cement pavers were placed on leveling sand and tamped down with a mallet. I left a slope for drainage, small enough that I can shim the floor to level before attaching the walls. If the floor isn't level, the wall panels won't fit together right.
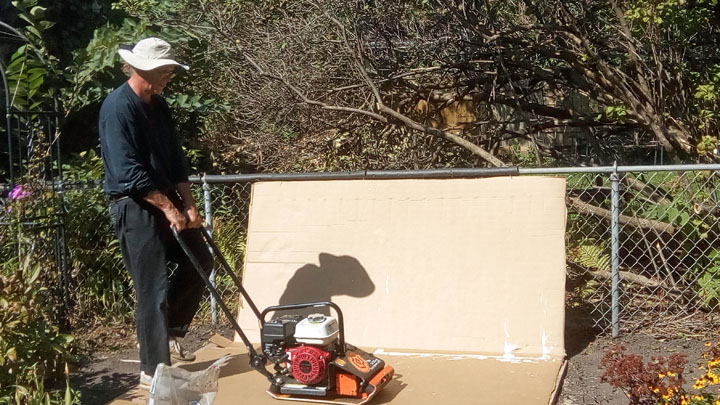
I tamp down the patio using a plate compacter. I've covered
the patio with cardboard to protect it from scratches.
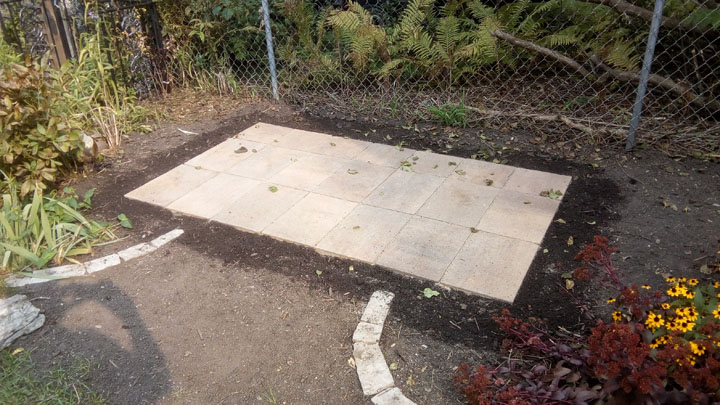
After applying a masonry sealer, the patio is grouted with
sand and tamped again. The finished patio is so nice that I'm
reluctant to put the shed on it.
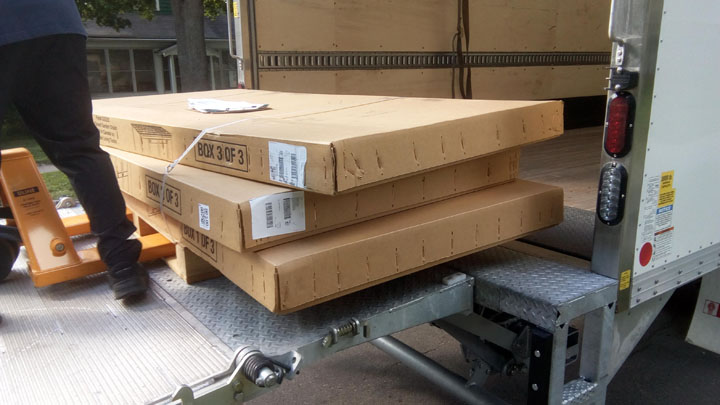
The kit for the shed comes in three boxes, each weighing
approximately 100 pounds.
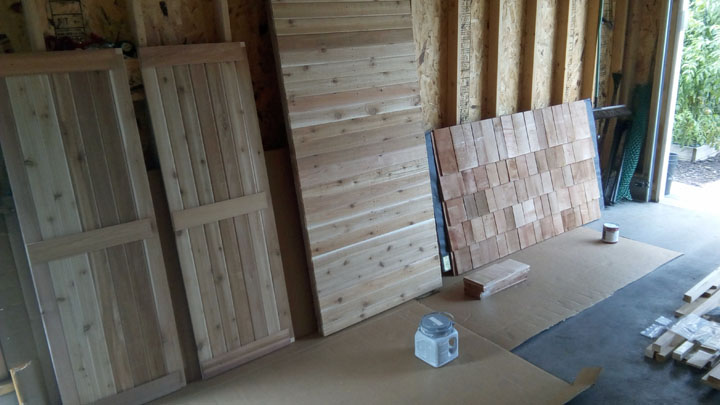
The doors, floor, and roof come already assembled. I've set
them up in the garage to stain them.
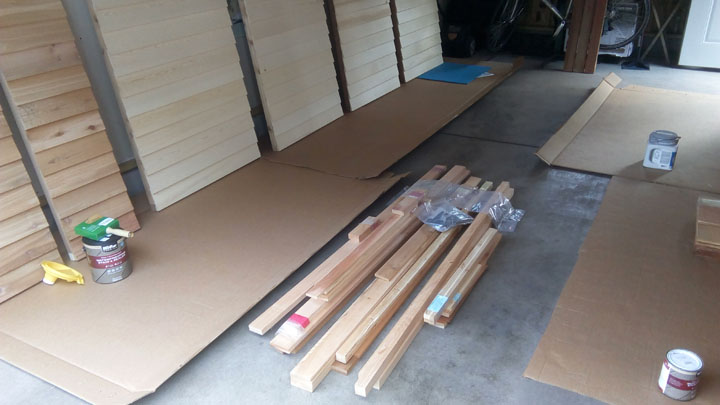
There are six wall panels and a pile of trim to stain. I stained every piece separately for best results.
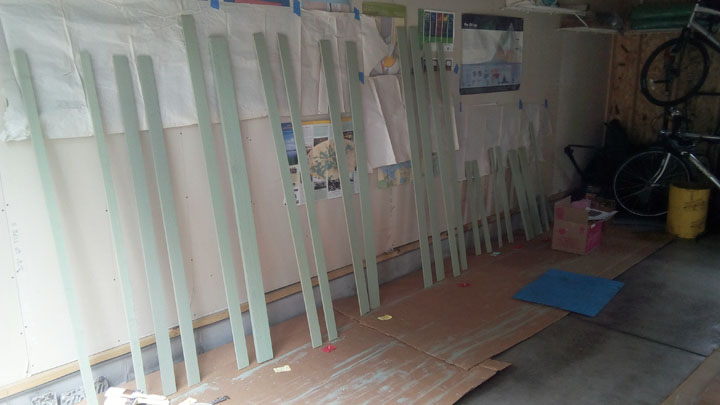
The trim and walls are stained in the delightfully named color sea foam green.
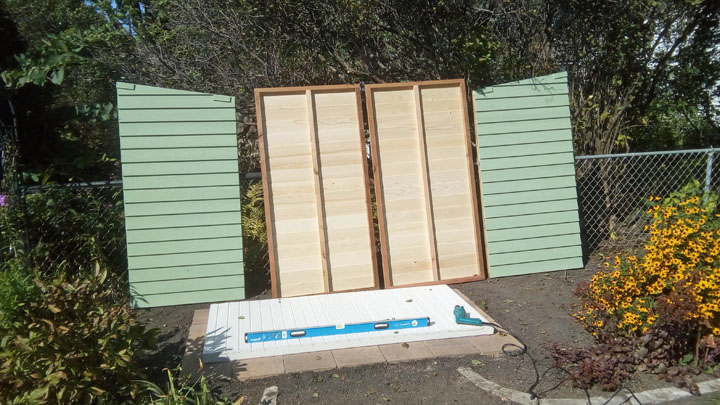
I painted the floor with a durable acrylic paint, and attached a sill gasket underneath to prevent water from seeping into the gap between the floor and patio.
I've left the interior of the shed untreated so it keeps that
nice cedar smell. I've caulked all the seams to keep out the
weather.
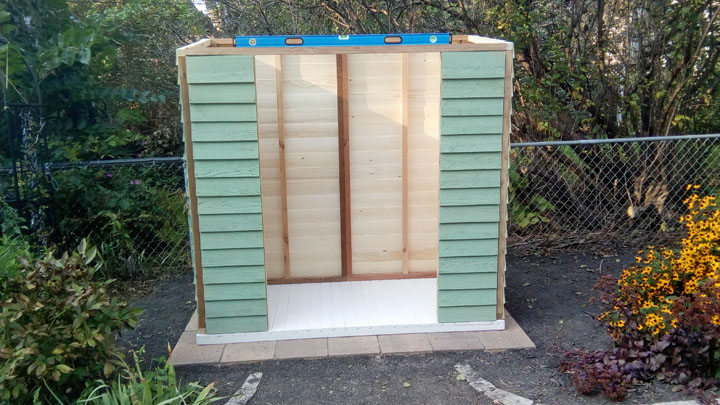
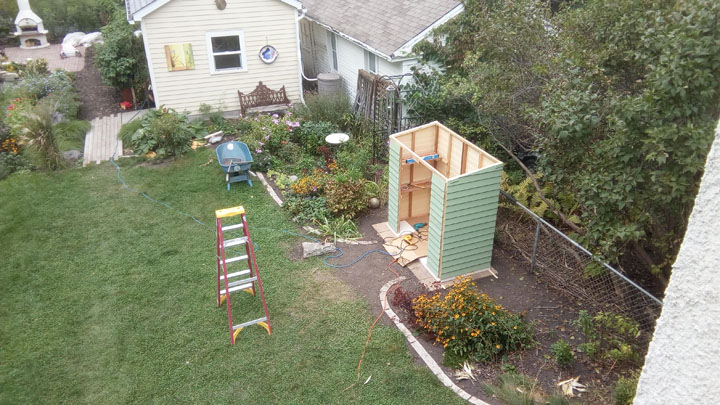
A view of the site from my office window. This looks like progress, but there are still dozens of pieces to attach. The kit has approximately 200 screws and 200 finishing nails.
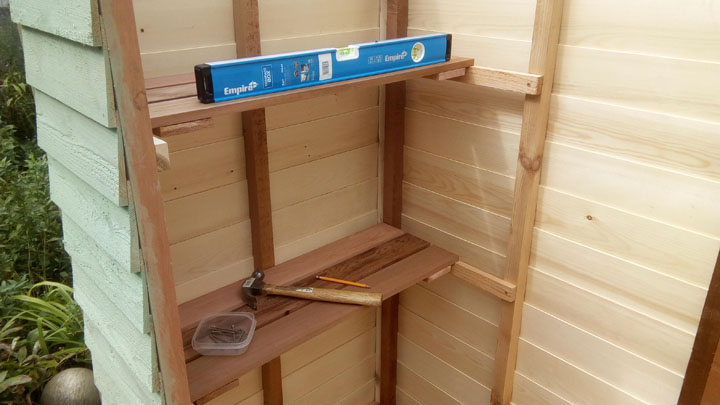
Interior shelves are included in the kit.
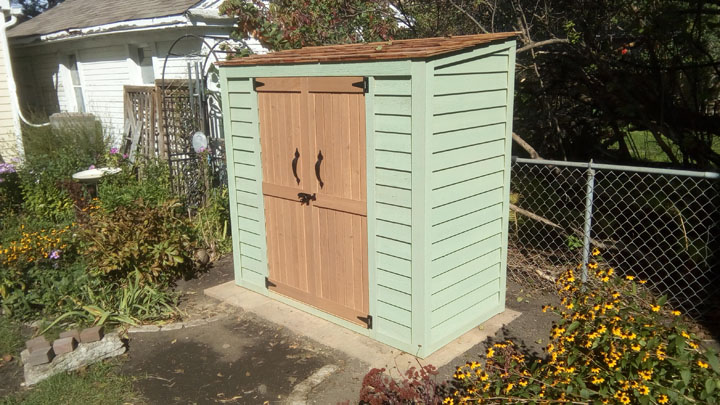
The finished shed looks great. I've stained the roof
and doors in a natural shade to complement the green walls.
Here is a lovely picture of the shed in winter.

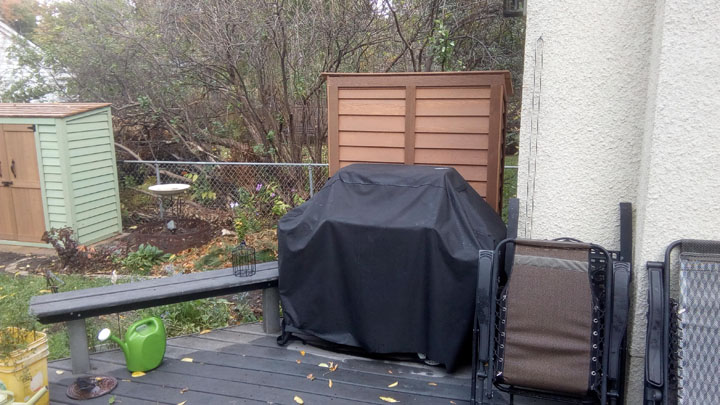
I was so pleased with the quality of the shed that I bought this
smaller one, which is more like a cabinet than a shed.
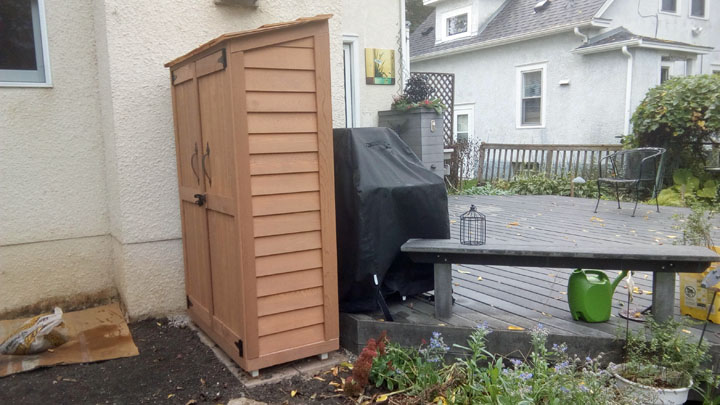
It serves as a windscreen for my grill, and a visual screen for the neighboring yard.
I wasn't done yet, however. Check out the cedar
greenhouse box kits I bought from the same source.